

You have a vision.
She has dark hair, sharp eyes, a subtle smile. She's wearing something casual but put-together. The lighting is warm, like late afternoon. You want her looking slightly off-camera, caught in a moment.
You type your prompt. You hit generate.
The result: a woman with dark hair and... something wrong. The smile is too wide. The lighting is flat. She's staring directly at you. The outfit is a different style than you imagined. It's fine—but it's not what you wanted.
You try again. Twelve generations later, you've burned through chips and still don't have the image you pictured.
This is the most common frustration in AI image generation.
But here's the thing: it's not random. There's a pattern to why prompts fail, and a structure to making them succeed. Once you understand prompt engineering for character images, you'll get what you want in far fewer tries.
The Anatomy of a Good Prompt
Most people write prompts like this:
"Beautiful woman with dark hair and blue eyes, casual clothes, warm lighting"
This isn't terrible, but it's why you get generic results. The AI is guessing at nearly everything—style, pose, composition, mood.
A strong prompt has five components, in order of importance:
1. Subject (You're describing who)
Be specific, but don't over-describe unless it matters.
Weak: "A woman" Better: "A woman in her late twenties" Best: "A woman in her late twenties with shoulder-length dark hair and sharp blue eyes"
The AI needs to know who you're generating. Give it the basics, but don't write a novel. Three to four physical descriptors is enough.
2. Action/Pose (What they're doing)
If you don't specify, the AI will default to a front-facing portrait. That's fine if that's what you want, but most interesting images have some kind of pose.
Examples:
- "Looking over her shoulder"
- "Sitting on a windowsill, reading a book"
- "Walking through rain, looking down"
- "Leaning against a wall, arms crossed"
Pose language matters. The AI interprets "sitting" and "sitting on a bench" differently. Be as specific as you need to be.
3. Camera/Composition (How we see them)
This is where you control the most visual impact.
Key terms:
- Shot type: Close-up, medium shot, full body, portrait, bust shot
- Angle: Eye level, low angle, high angle, side view, 3/4 view
- Focus: Sharp focus, bokeh (blurred background), depth of field
Example:
"Medium shot, 3/4 angle, sharp focus on face, blurred background"
This tells the AI exactly how to frame the subject. Without this, you get whatever composition the model guesses.
4. Lighting/Mood (The feeling)
Lighting transforms an image from flat to cinematic.
Common lighting terms:
- Natural lighting, golden hour, soft light
- Dramatic lighting, chiaroscuro, rim lighting
- Studio lighting, professional lighting
- Backlit, silhouette
Mood terms:
- Warm tones, cozy atmosphere
- Cool tones, moody atmosphere
- Cinematic, ethereal, dreamy
Example:
"Warm golden hour lighting, soft shadows, cozy atmosphere"
5. Style (The aesthetic)
If you want a specific look, you need to say so.
Style keywords:
- Realistic, photorealistic, hyperrealistic
- Anime style, anime art, manga style
- Cinematic, film grain, 35mm
- Digital art, illustration, concept art
Example:
"Photorealistic, cinematic, 35mm film grain"
Putting It Together: A Complete Prompt
Here's the difference between a weak prompt and a strong one:
Weak:
"Beautiful woman with dark hair"
Strong:
"A woman in her late twenties with shoulder-length dark hair and sharp blue eyes, sitting on a windowsill looking outside, medium shot, golden hour lighting streaming through the window, photorealistic, cinematic style."
Notice:
- Subject is clear (woman, late twenties, dark hair, blue eyes)
- Pose is specified (sitting on windowsill, looking outside)
- Camera is defined (medium shot)
- Lighting is set (golden hour, streaming through window)
- Style is declared (photorealistic, cinematic)
This prompt gives the AI enough information to produce something close to your vision on the first or second try.
The Mistakes That Ruin Prompts
Mistake 1: Overloading with descriptors
Bad:
"Beautiful stunning gorgeous woman with long flowing dark hair and piercing blue eyes and full lips and a cute small nose and perfect skin and a nice smile..."
More adjectives = more confusion. The AI doesn't need "beautiful, stunning, gorgeous" — it's already trying to generate an attractive subject. Pick two to three key descriptors and stop.
Mistake 2: Competitive keywords
Bad:
"Close-up, full body portrait"
These conflict. The AI will either guess or produce something awkward. Pick one.
Mistake 3: Forgetting the negative
What you don't want is sometimes as important as what you do want.
Good:
"Woman with dark hair, warm lighting, no glasses, no hat"
Negative constraints help when you keep getting results you don't want. Some platforms support explicit negative prompts (e.g., "hands visible" to avoid weird hand generation).
Mistake 4: Vague style language
Bad:
"Cool style"
Better:
"Anime style, soft shading, pastel colors"
"Cool" means nothing. "Anime style" means something. Be specific about the aesthetic you want.
Mistake 5: Ignoring aspect ratio
If you want a portrait or a landscape, say so. Most platforms have aspect ratio settings. Use them. A full-body shot in portrait mode will look cramped. A close-up in landscape will have too much empty space.
Prompt Engineering for Specific Looks
For Realistic Portraits
Formula: Subject + pose + lighting + "photorealistic" + "professional photography"
Example:
"Woman in her early thirties with short blonde hair, looking at the camera with a slight smile, soft studio lighting, photorealistic, professional portrait photography"
For Anime Characters
Formula: Subject + "anime style" + pose + color palette + "digital art"
Example:
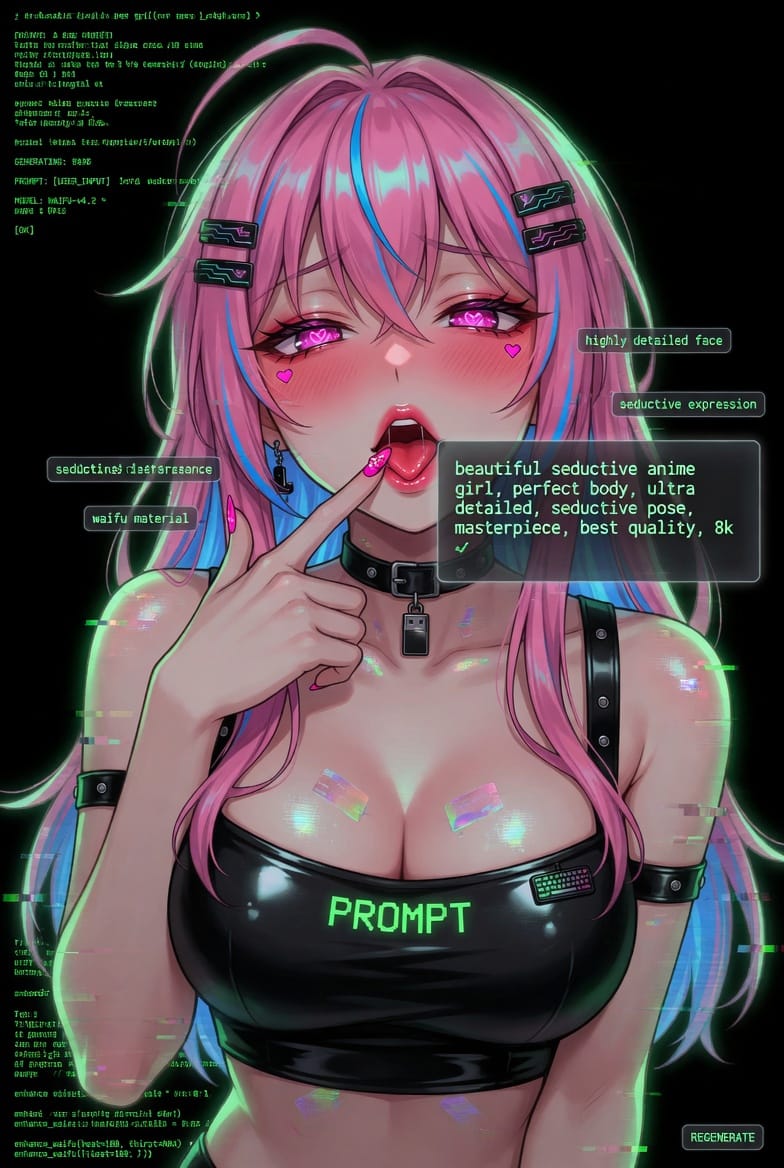
"Anime girl with long pink hair and red eyes, standing in a cherry blossom garden, 3/4 view, warm pastel colors, anime style, digital art"
For Cinematic/Movie Looks
Formula: Subject + dramatic pose + cinematic lighting + "35mm film grain" + "movie still"
Example:
"Man in his forties with beard, sitting at a bar looking contemplative, dramatic bar lighting, 35mm film grain, cinematic movie still"
For Fantasy Characters
Formula: Subject + fantasy elements + environment + "fantasy art" + "concept art"
Example:
"Elf woman with pointed ears and silver hair, standing in an ancient forest, soft magical lighting, fantasy art, detailed concept art"
Iteration Strategy: What to Change When It's Wrong
You generated an image. It's close but not right. What do you tweak?
If the face is off:
- Add "symmetrical face" or "clear facial features"
- Try a different angle (3/4 view is generally more forgiving than full profile)
- Specify "beautiful face" or "attractive features"
If the pose is awkward:
- Be more specific about body position
- Add "natural pose" or "relaxed posture"
- Try a different action altogether
If the lighting is flat:
- Add lighting keywords: "dramatic lighting," "rim light," "golden hour"
- Specify "shadows" or "contrast"
- Try "cinematic" as a style keyword
If the style is inconsistent:
- Add more style reinforcement: "photorealistic, realistic, no动漫" (if you want realistic)
- Specify medium: "photography" vs "digital art"
- Use negative prompts if available
If the hands/limbs are weird:
- This is a known AI issue. Try "hands visible" or generate multiple versions
- Some models handle hands better than others
- Consider poses where hands aren't the focus
Advanced Technique: Reference Images
If your platform allows image uploads (Lovescape does), use them.
How reference images help:
- The AI has something visual to match
- You can specify style without writing paragraphs
- You get closer to your vision faster
Best practices:
- Use high-quality reference images
- Match the reference style (don't use an anime ref for a photorealistic prompt)
- Combine reference with text for best results
Plain Language vs. Keyword Prompting
There are two schools of prompt engineering:
Plain Language:
"A woman sitting on a park bench reading a book in the afternoon sun, relaxed expression, realistic photography"
Keyword Heavy:
"Woman, park bench, reading, afternoon light, golden hour, relaxed, realistic, photography, 8k, highly detailed"
Which is better?
It depends on the model. Some models respond better to natural sentences. Others want dense keywords. If you're not getting the results you want, try switching approaches.
Recommendation: Start with plain language. If results are noisy or inconsistent, compress into keywords.
Save Your Best Prompts
When you get a prompt that works, save it.
Why this matters:
- You can reuse structure for different characters
- You can share prompts across sessions
- You reduce trial-and-error over time
Create a prompt library:
| Character Type | Working Prompt |
|---|---|
| Casual portrait | "Woman in her 20s, [hair color], [eye color], casual pose, natural lighting, photorealistic" |
| Dramatic portrait | "Person, [age], [features], dramatic lighting, rim light, cinematic style" |
| Fantasy character | "[Creature type] with [features], [environment], fantasy art, detailed concept art" |
Fill in the variables. Build on what works.
The Bottom Line
Bad generations aren't random. They're the result of vague prompts, conflicting instructions, or missing components.
The formula is simple:
- Subject — Who are you generating?
- Pose/Action — What are they doing?
- Camera/Composition — How do we see them?
- Lighting/Mood — What's the atmosphere?
- Style — What's the aesthetic?
Give the AI all five components, and you'll get what you want in fewer tries. Waste fewer chips. Get closer to your vision.
Your character deserves to look exactly how you imagine. Now you have the tools to make that happen.